
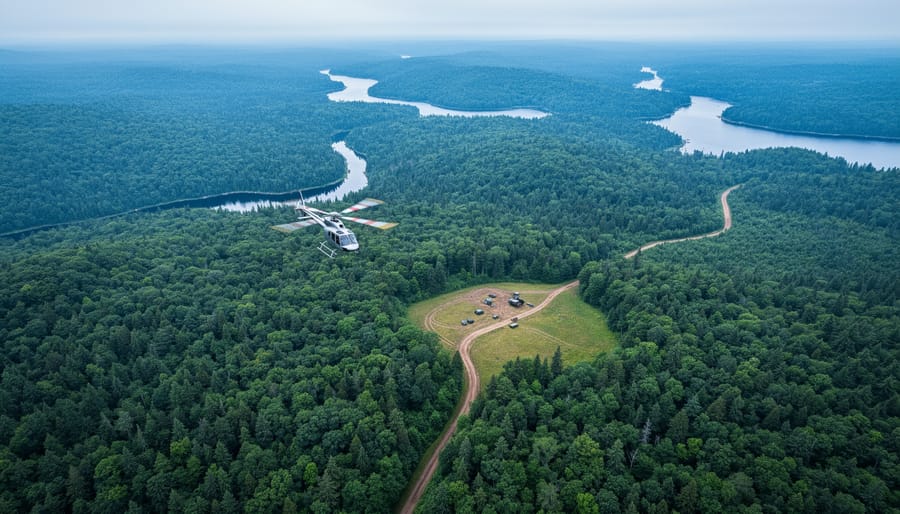
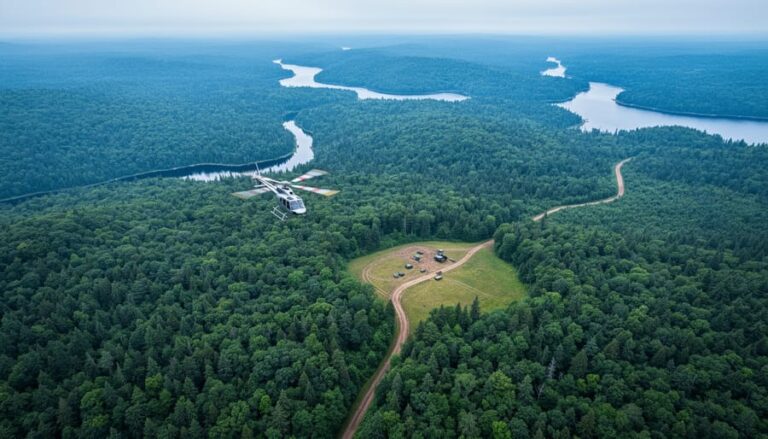
A helicopter aerial survey transforms how you scout, map, and plan outdoor adventures by giving you a bird’s-eye view of terrain, trails, and hidden features that remain invisible from the ground. Whether you’re a tourism operator mapping new canoe routes through Algonquin’s backcountry or an adventure guide identifying rock climbing opportunities along the Niagara Escarpment, aerial surveys deliver detailed visual intelligence that saves time, reduces risk, and opens up possibilities you’d never discover on foot.
The process involves chartering a helicopter, flying systematic grid patterns over your target area, and capturing photo or video documentation while taking detailed notes. Most surveys for adventure mapping in Ontario take three to five hours of flight time, cost between $2,500 and $6,000 depending on distance and helicopter type, and require advance planning for airspace permissions, weather windows, and safety protocols.
Here’s what makes helicopter surveys so powerful for outdoor recreation mapping: you can cover in two hours what would take weeks of bushwhacking to explore on the ground. You’ll spot game trails, water sources, potential campsites, hazardous terrain, and seasonal access routes that topographic maps simply can’t show. I’ve watched outfitters identify entirely new mountain bike trail corridors in a single afternoon flight, and conservation groups document shoreline erosion patterns that inform sustainable tourism development.
The key is preparation. You need clear objectives, proper equipment, legal clearances, and a solid understanding of what you’re looking for before the rotor blades start turning. Flight time is expensive, so every minute needs to count. This guide walks you through the entire process, from initial planning and safety requirements to post-flight analysis and map creation, so you can execute professional-quality aerial surveys that genuinely improve your adventure planning and outdoor project work.
What You’ll Need: Essential Tools and Materials for Your Aerial Survey
Planning a helicopter aerial survey requires both specialized equipment and administrative preparation. Here’s what you need to gather before taking to the skies over Ontario’s parks.
Helicopter Charter and Pilot Selection
Your first major decision is choosing a reputable helicopter charter service familiar with Ontario park operations. Look for operators holding valid Transport Canada certifications and experience with survey work rather than just scenic tours. Expect to pay between $1,200 and $2,500 per flight hour depending on helicopter size and capabilities. Robinson R44s work well for solo or small team surveys, while larger groups or heavy equipment loads require something like a Bell 206. Book at least two weeks ahead during peak summer months, and confirm the pilot understands you’ll need stable hovering and specific route adherence rather than a standard sightseeing pattern.
Essential Gear Checklist
Before your flight, compile everything you’ll need for effective data collection and legal compliance:
- Valid photo ID and Transport Canada flight plan confirmation
- Park entry permits and specific aerial survey authorization from Ontario Parks
- High-resolution camera (minimum 24MP) with image stabilization and polarizing filter
- Handheld GPS unit with fresh batteries and pre-loaded park boundary maps
- Tablet or waterproof notepad for real-time annotations and waypoint logging
- Binoculars for ground feature identification from altitude
- Backup storage cards and portable battery packs
- Topographic maps of your survey area marked with priority zones
- Two-way radio for pilot communication (supplied by charter in most cases)
- Weather forecast printout and alternate date options
Mapping Technology and Documentation
A quality DSLR or mirrorless camera beats smartphone shots for mapping purposes because you can adjust settings mid-flight and capture higher detail for later georeferencing. Pair it with a GPS unit that records tracklog data, this creates the spatial backbone for aligning your photos later. Some surveyors bring small drones as backup for lower-altitude detail work once they’ve landed near interesting features, though you’ll need separate drone permits for park use.
Keep all permits together in a waterproof pouch. Ontario Parks requires written authorization for any aerial photography beyond casual sightseeing, and some protected areas have seasonal flight restrictions to protect nesting birds. Download permit applications at least three weeks before your survey date to allow processing time.
Critical Safety Warnings and Legal Considerations
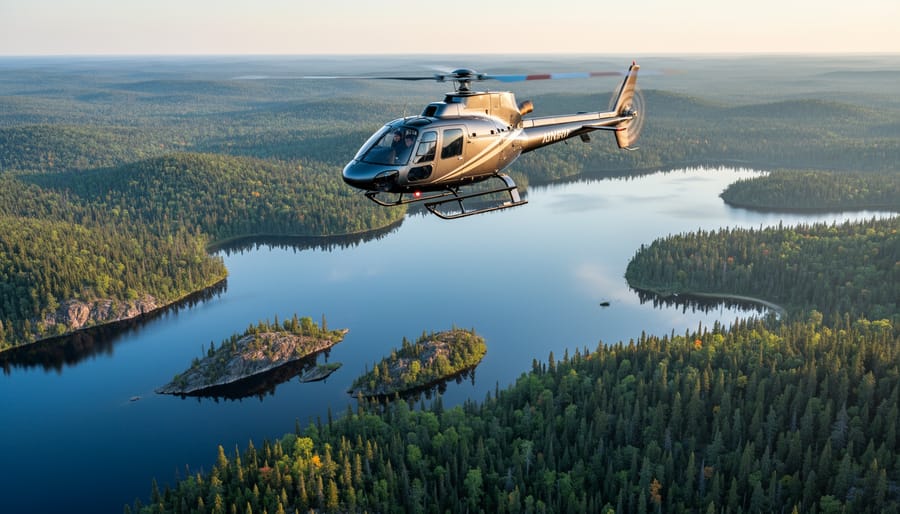
Before your helicopter lifts off, understand that aerial surveys over Ontario parks come with serious legal obligations and safety risks that can’t be ignored. Transport Canada’s Canadian Aviation Regulations for helicopters require strict adherence to minimum altitude rules, typically 500 feet above ground level over populated areas and 1,000 feet over wildlife concentrations. Ontario’s provincial parks add their own layer of restrictions, often prohibiting flights below certain altitudes during nesting seasons or over designated wilderness zones, so contact park management weeks before your survey date to secure the necessary permits.
Weather creates the most common hazards. Morning flights offer calmer air and better light, but afternoon thermals can toss a helicopter around dangerously, especially near ridgelines and lake surfaces. Your pilot will monitor cloud ceilings, visibility minimums, and wind shear reports, but you should independently check Environment Canada forecasts and have a no-go decision ready. Temperature inversions that trap smoke or haze will ruin your photography and create navigation risks.
Wildlife disturbance isn’t just an ethical concern, it’s regulated. Hovering low over moose calving areas in spring or flying near active osprey nests can trigger enforcement action and fines. Maintain at least 1,500 feet horizontal distance from visible wildlife, higher if you’re practicing wildlife spotting techniques that involve focused observation. Eco-friendly flying means minimizing low passes, avoiding repeated circuits over sensitive habitats, and applying Leave No Trace principles to your aerial footprint by keeping engine noise and rotor wash away from breeding grounds and fragile ecosystems.
Step-by-Step: Conducting Your Helicopter Aerial Survey
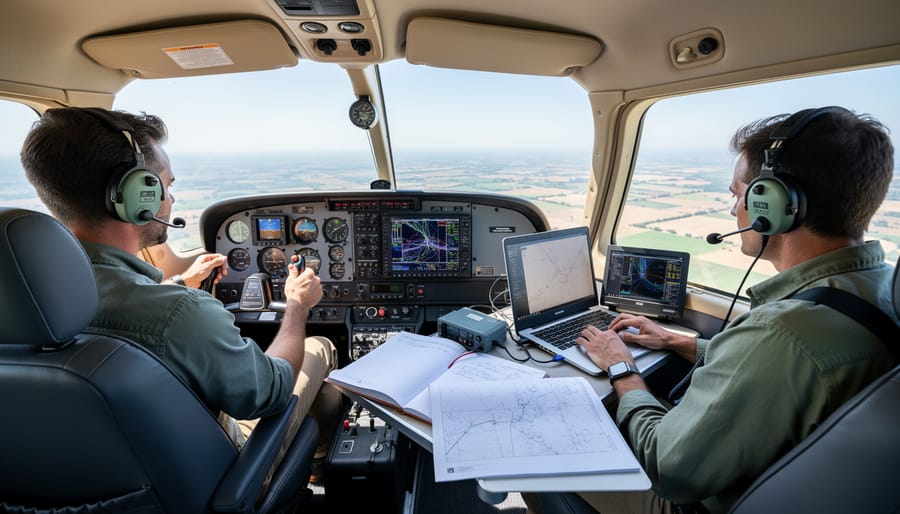
Pre-Flight Planning and Route Mapping
Start by pulling up existing park maps and satellite imagery, Google aerial maps work great for initial orientation, and mark areas you want to cover. Identify key landmarks like trail junctions, lakes, cliffs, and camping zones that’ll serve as visual reference points during the flight. Plot a route that follows natural corridors and minimizes backtracking, typically flying grid patterns over large areas or following linear features like rivers and ridgelines for trail surveys.
Contact the park office at least two weeks ahead. You’ll need written permission for low-level flights, and staff can alert you to sensitive wildlife zones, restricted areas, and seasonal closures. Some Ontario parks require special permits for aerial photography, so ask specifically about documentation requirements.
File your flight plan with your charter company, they’ll handle the Transport Canada notification, but you need to provide detailed waypoints, altitude preferences (usually 500-1000 feet works best for mapping), and estimated flight duration. Build in extra time for weather delays.
Schedule a pre-flight briefing with your pilot the day before. Walk them through your survey objectives using a marked-up map, pointing out exactly what features matter and where you’ll need to slow down or circle back. Discuss hand signals for communication since headset chatter needs to stay minimal. Confirm backup landing sites in case weather turns or mechanical issues arise mid-survey.
In-Flight Data Collection Techniques
Once you’re airborne, the helicopter’s movement becomes both a challenge and an opportunity. Keep your camera settings on a fast shutter speed, at least 1/1000th of a second, to freeze motion and avoid blur from vibrations. Shoot in burst mode so you capture multiple frames of each target area; you can select the sharpest images later.
Position yourself to minimize reflections if you’re shooting through windows. A rubber lens hood pressed against the glass works wonders, or ask your pilot if doors-off flying is an option (weather and safety permitting). For GPS waypoints, mark them immediately when you spot something interesting, a potential campsite, trail junction, or scenic overlook. Don’t rely on memory; the landscape blurs together fast at survey speed.
Golden hour lighting (early morning or late afternoon) provides the best contrast for identifying terrain features, but midday sun works well for reducing shadows in dense forest canopy. Communicate constantly with your pilot about upcoming landmarks so they can adjust speed or banking angle for optimal angles.
Keep a voice recorder running for quick observations. Saying “rocky outcrop at two o’clock, potential viewpoint” is faster than writing notes while managing a camera. The helicopter’s noise will be there, but your words will be clear enough for transcription later.
Dress in layers, helicopters can be surprisingly cold at altitude, and secure all loose items. A dropped lens cap is gone forever, and worse, it’s a safety hazard.
Landing and Immediate Post-Flight Actions
Once your helicopter touches down, resist the urge to rush off, the next fifteen minutes are crucial for protecting your work. Before you even unbuckle, create a backup of your memory cards and GPS data. I learned this the hard way after a card corrupted during the walk back to the parking lot, losing an entire morning’s survey of Algonquin’s eastern lakes.
Quickly review your photos and waypoints while details are fresh. Check for blurry shots, missed sections, or areas where cloud shadows obscured features. Compare your actual coverage against your planned route map. If you spot gaps, discuss them with your pilot immediately, rescheduling costs far more than adding ten minutes to today’s flight.
Debrief honestly with your pilot about what worked and what didn’t. Did certain maneuvers make photography easier? Were there areas where turbulence affected image quality? Note wildlife activity you observed, both for safety on future flights and to help other surveyors. Record exact flight times, altitudes at key waypoints, and any deviations from your plan.
Before leaving the helipad, verify your equipment is secure and nothing’s been left behind. Double-check that external hard drives or backup devices are safely packed, not loose in your bag where they can get damaged during the drive home.
Analyzing and Processing Your Aerial Data
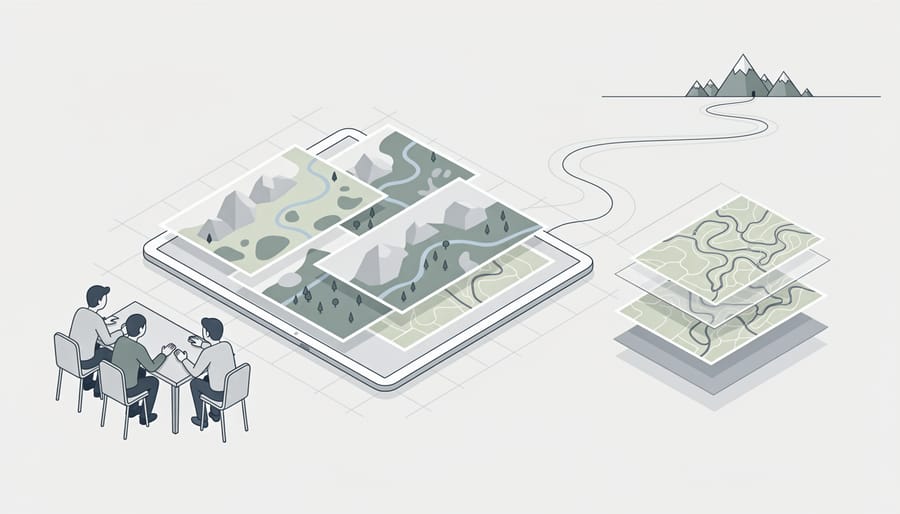
Once you land and offload your captured imagery and GPS tracks, the real work of turning raw aerial footage into actionable adventure maps begins. Start by organizing your files by flight segment and timestamp so you can match photos to specific locations along your route. Most mapping projects benefit from basic photo stitching software like Microsoft ICE (free) or Adobe Lightroom’s panorama merge to create continuous overhead views of trail corridors and camping zones. For more advanced work, QGIS (also free and open-source) lets you georeference your images by pinning control points, recognizable landmarks like trailheads, bridges, or shoreline features, to their known GPS coordinates, effectively placing your photos on a real-world map grid.
Next, load any GPS waypoints you recorded during the flight, these become your annotation anchors. Create separate map layers for different feature types: one for hiking trails, another for potential camping areas, a third for water access points, and so on. This layered approach mirrors the 4 Level Map Analysis method, helping you build complexity without cluttering your base map. Zoom in on each photo section and trace visible trails using polyline tools, mark clearings that could serve as tent sites with point symbols, and flag any hazards like steep drop-offs or dense bush with warning icons.
Identifying terrain features requires patience and a good eye. Look for subtle colour shifts that indicate wetlands, shadow patterns that reveal elevation changes, and canopy breaks that suggest old logging roads or natural corridors. Compare what you see in your aerial shots with topographic data from Ontario’s GeoHub or park-specific trail maps to confirm feature identity. When you spot something ambiguous, tag it with a question mark and add it to your ground-truthing checklist for the next field visit.
Export your finished map in multiple formats: a high-resolution PDF for printing, a KMZ file for sharing via Google Earth, and individual image tiles if you’re building a custom web map. Label each version with the survey date and coverage area so future users understand the map’s currency and scope.
Verifying Your Results and Next Steps
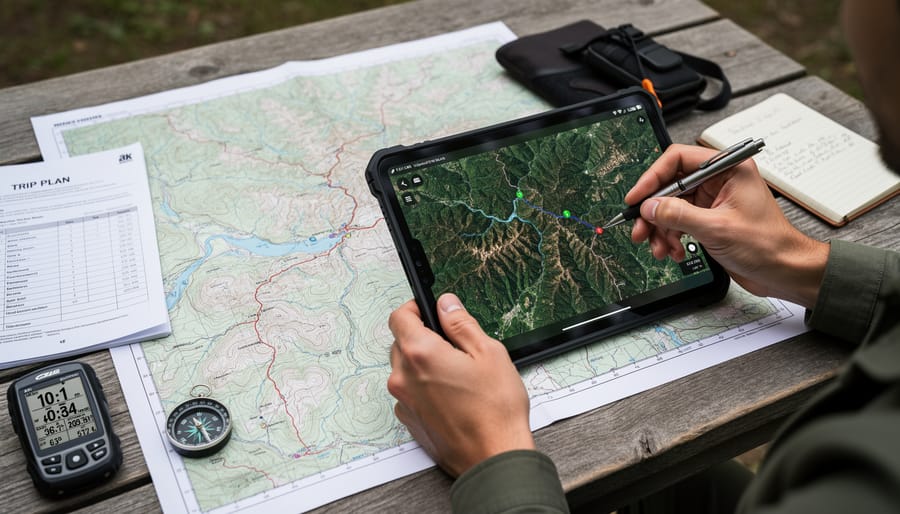
Your aerial survey data is only as valuable as its accuracy. Before heading into the backcountry based on your findings, verify what you’ve mapped through ground-truthing, actually visiting key locations to confirm terrain features, trail conditions, and access points match your overhead observations. Start with accessible areas near trailheads or main routes, then work toward more remote spots. You’ll often find that what looked like a clear path from 500 feet up has significant obstacles at ground level, or that a promising camping area has restrictions you couldn’t spot from the air.
Cross-reference your survey results with official park maps, topographic data, and recent satellite imagery. Ontario Parks publishes updated trail maps that can highlight discrepancies between your observations and established routes. Pay special attention to water features, streams shift, beaver activity creates new ponds, and seasonal wetlands may appear dry or flooded depending on when you flew. Check if shoreline features, cliff edges, and forest cover density align with what existing maps show. Mismatches aren’t necessarily errors; they often reveal real changes that make your survey valuable for current conditions.
Identify coverage gaps by reviewing your flight path overlay. Missing data typically occurs where weather forced altitude changes, sun angles created glare, or time constraints rushed certain segments. Note areas where you need better detail for plant identification wildlife habitat assessment, or technical route planning. Schedule follow-up surveys during different seasons, spring leaf-off conditions reveal terrain structure, while summer flights show full canopy and water levels.
Share your verified maps with local paddling clubs, hiking groups, and the broader Ontario outdoor community through trail forums and park-specific social media groups. Your aerial perspective helps others plan safer, more rewarding adventures while contributing to collective knowledge about these wild spaces.
Real-World Applications: From Survey to Adventure
The maps and data points you’ve collected become truly valuable when you translate them into actual outdoor adventures. I’ve watched survey data turn uncertainty into confidence for trip planners who can now identify that perfect backcountry campsite with lake access before even setting foot on a trail.
One of the most immediate applications is discovering hidden camping spots that don’t appear on official maps. Your aerial perspective reveals clearings near water sources, natural wind breaks, and level terrain that might take hours of ground exploration to find. In Algonquin’s northern reaches, aerial surveys have helped paddlers identify unofficial portage routes and campsites along less-traveled waterways, reducing bushwhacking time and improving safety planning.
For canoe route scouting, aerial data shows you water depth variations, rapids locations, and potential hazards like fallen trees or shallow sections. This information transforms a guessing game into a strategic journey where you know exactly what’s ahead and can pack accordingly.
Multi-day hiking routes benefit enormously from aerial intelligence. You can spot water crossings, estimate elevation changes more accurately than topographic maps alone provide, and identify bailout points if weather turns bad. Several Ontario outfitters now use helicopter survey data to design custom adventure packages that showcase lesser-known viewpoints and unique geological formations that become signature experiences.
How much does a basic helicopter survey for personal adventure mapping typically cost?
Expect to budget between $1,500 and $3,000 for a 1-2 hour charter depending on helicopter type and distance from the base. Sharing costs with fellow outdoor enthusiasts or adventure clubs makes it more affordable.
What’s the best season for conducting aerial surveys in Ontario parks?
Late spring (May-June) and early fall (September-October) offer optimal conditions with clear weather, good visibility, and leaf patterns that reveal terrain features. Avoid peak summer when haze and heat distortion reduce photo quality.
Can I access existing aerial survey data without conducting my own flight?
Ontario Parks and some conservation authorities maintain aerial imagery archives available through freedom of information requests. Third-party mapping services and university research departments sometimes share data for non-commercial outdoor recreation planning.
Tourism operators have found aerial surveys invaluable for attraction development. You can identify natural amphitheaters for guided nature talks, scenic overlooks for photography tours, or unique geological formations that become signature experiences. One eco-tourism company used aerial data to design a series of “hidden gems” hiking packages that bypass crowded trails while showcasing equally spectacular scenery.
An insider tip from experienced mappers: always mark wildlife corridors and sensitive habitat zones during your survey, then actively avoid routing adventures through these areas. This eco-conscious practice protects Ontario’s wilderness while still opening up incredible outdoor experiences in appropriate zones.


+ There are no comments
Add yours