
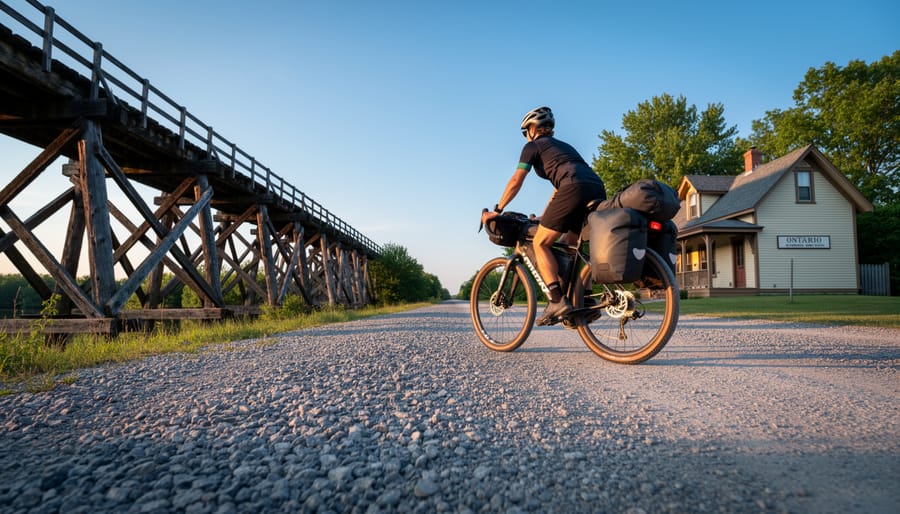
Planning a multi-day bikepacking trip on rail trails takes three essentials: selecting a manageable route on converted railway corridors, packing the right overnight gear, and mapping out safe camping or accommodation stops along the way. Most beginner-friendly rail trail itineraries in Ontario span 2-4 days and cover 40-80 kilometers daily, taking advantage of the gentle grades and predictable surfaces that old railway lines provide.
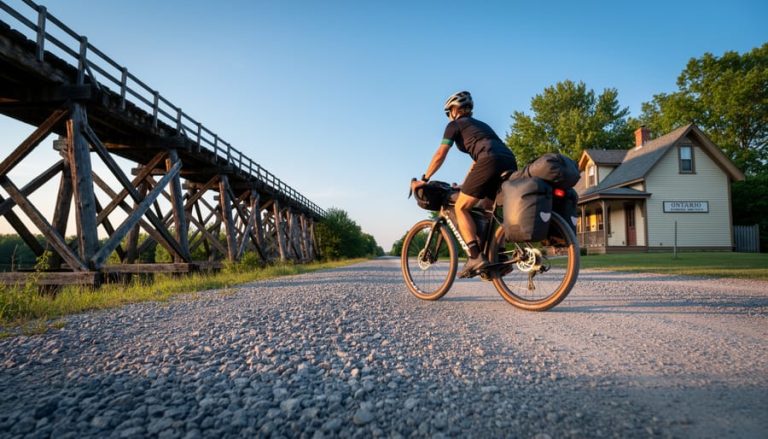
Rail trails offer something unique for bikepackers. Unlike traditional backcountry routes, these converted railway corridors deliver consistent, often gravel or paved surfaces with minimal elevation changes, perfect for loaded touring bikes. You’ll pedal through landscapes that cars can’t reach, past old station houses and through small towns that once depended on the rails you’re riding over. The predictability makes planning straightforward, but don’t mistake easy navigation for boring. I’ve watched sunsets from former railway bridges, camped beside heritage stations turned into museums, and rolled into farm-country diners that looked frozen in 1960.
Ontario’s rail trail network has grown substantially, giving bikepackers dozens of options from the flat, lakeside routes in Prince Edward County to the wilder northern corridors cutting through Canadian Shield country. The key is matching trail character to your experience level and gear setup. A weekend warrior with basic panniers can tackle well-serviced southern trails with towns every 20 kilometers, while experienced bikepackers might prefer remote stretches where self-sufficiency matters more.
This guide walks you through everything: what gear actually works on multi-day rail trail trips, how to plot your daily distances and resupply points, safety considerations specific to these corridors, and real itinerary examples you can adapt. Whether you’re testing bikepacking for the first time or adding Ontario rail trails to your touring resume, you’ll finish with a clear framework for turning railway history into your next adventure.
What You’ll Need for Rail Trail Bikepacking
Packing for a multi-day rail trail trip differs from a casual day ride. You’re carrying everything you need to sleep, eat, and handle problems miles from the nearest shop, yet your load should still feel manageable over long distances.
Your bike choice matters more than you might think. Hardtail mountain bikes work brilliantly on rail trails with rougher surfaces, their suspension soaks up washboard gravel and the occasional root crossing. Gravel bikes shine on smoother crushed limestone trails, offering speed without sacrificing stability. Touring bikes, built specifically for loaded riding, handle predictably when you’re carrying 20-plus pounds of gear. Whatever you choose, make sure it fits you properly and has mounting points for racks or frame bags.
The bikepacking bags versus panniers debate comes down to trail surface. Panniers (traditional saddlebags on racks) carry more and organize better, but they can rattle on bumpy sections. Bikepacking bags, frame bags, seat packs, handlebar rolls, distribute weight lower and tighter to the bike, which feels more stable on uneven terrain. Many experienced riders mix both systems. Either way, prioritize waterproof options or pack everything in dry bags.
Here’s what should make your packing list:
- Bike setup: spare tubes, tire levers, mini pump or CO2, multi-tool, chain lubricant, duct tape wrapped around a trekking pole
- Camping equipment: lightweight tent or bivy sack, compact sleeping bag rated for expected temperatures, inflatable sleeping pad, headlamp with extra batteries
- Navigation and safety: downloaded offline maps, portable battery pack, whistle, first-aid kit with blister treatment, bear spray if camping in certain areas
- Provisions: collapsible water bottles or hydration bladder (3-liter capacity minimum), water filter or purification tablets, camp stove and fuel, freeze-dried meals, high-calorie snacks, reusable utensils and bowl
Clothing layers handle Ontario’s unpredictable weather better than a single heavy jacket. Pack a moisture-wicking base layer, insulating mid-layer, waterproof shell, and a warm layer for evenings at camp. Two pairs of padded cycling shorts let you wash and rotate. Merino wool socks dry faster than cotton and don’t stink after three days of riding.
An eco-friendly approach means reusable containers instead of single-use packaging, biodegradable soap for washing dishes, and a compact trash bag to pack out everything you brought in. Solar-powered battery packs keep devices charged without disposable batteries.
Weight discipline separates comfortable trips from suffering. If you haven’t used something on your last three rides, leave it home.
Safety and Trail Considerations Before You Go
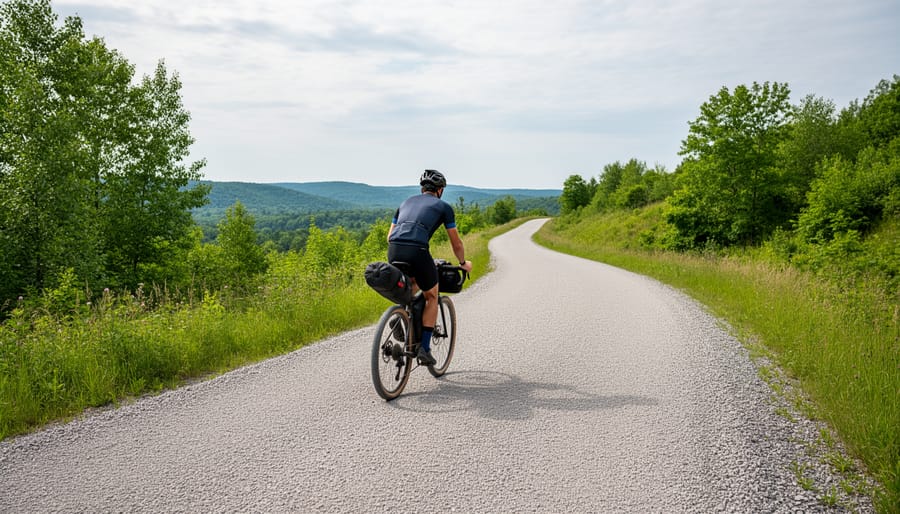
Rail trails might look like peaceful, well-maintained paths, but bikepacking introduces variables that day riders never encounter. Before you clip in for a multi-day journey, understand what you’re riding into.
Start by researching the specific trail surface. Many Ontario rail trails feature packed limestone screenings that ride beautifully when dry but turn into peanut butter after heavy rain. Others have loose gravel sections, exposed roots where vegetation has encroached, or washouts from spring runoff that haven’t been repaired. Check recent trip reports and contact trail associations for current conditions, what was smooth in June might be significantly rougher by September.
Weather on rail trails can shift faster than you expect, especially on routes that traverse open farmland or forested corridors. Pack layers for temperature swings of 15-20°C between morning and afternoon, and always carry rain gear even if the forecast looks clear. I’ve been caught in sudden thunderstorms on the K&P Trail with zero shelter for kilometres; it’s miserable and potentially dangerous if you’re not prepared.
Wildlife encounters are part of the experience. Black bears occasionally cross trails in northern sections, and while they typically avoid humans, store food properly and know what to do if you meet one. More common are aggressive dogs in rural areas near trail crossings, slow down, stay calm, and never outrun them.
Water availability varies dramatically. Some trails pass through towns every 20 kilometres; others have 60-kilometre stretches with no reliable sources. Never assume a creek or pond is safe to drink from without treatment. Carry a filter and plan water stops meticulously.
Follow leave-no-trace principles religiously. Pack out everything, use established campsites where available, and respect private property adjacent to trails. These corridors exist because communities support them, your behaviour determines whether that continues.
Know when NOT to go. Skip bikepacking during extreme heat warnings, severe weather forecasts, or spring flooding season. If you’ve never done overnight cycling before, don’t make your first attempt a solo trip on a remote trail. And if you’re not physically prepared for consecutive days of loaded riding, choose a shorter route with bailout options rather than overcommitting.
Step-by-Step: Planning Your Rail Trail Bikepacking Route
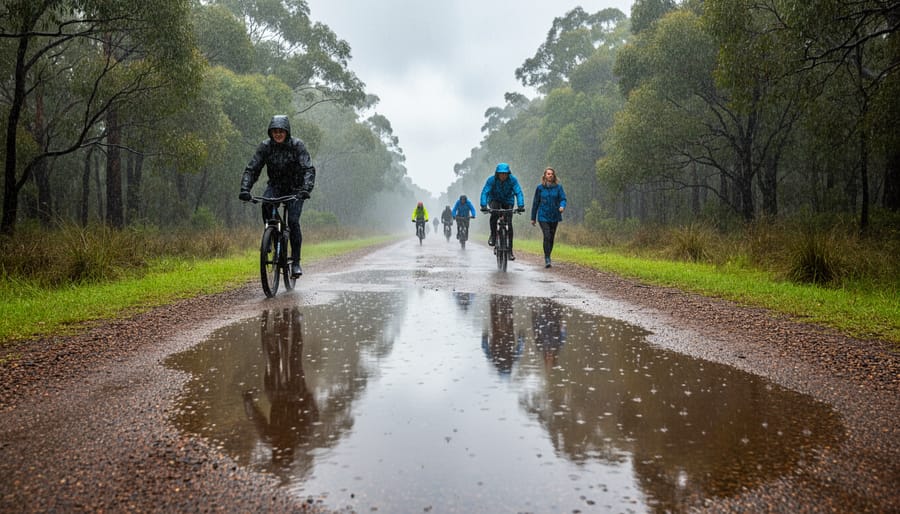
Step 1: Choose Your Ontario Rail Trail
Start by honestly assessing your fitness level and bikepacking experience. If you’re new to multi-day cycling, look for shorter rail trails with gentle grades and good services nearby, the Elora Cataract Trailway offers 47 kilometers of scenic riding through gorges and forests with easy access to towns like Elora and Fergus. More experienced riders might tackle the 125-kilometer K&P Trail, which follows the historic Kingston and Pembroke Railway through rugged Canadian Shield terrain with longer remote stretches.
Check each trail’s total distance and whether you prefer point-to-point or out-and-back routes. The Cataraqui Trail runs 104 kilometers from Strathcona to Smith Falls, crossing farmland and wetlands with multiple access points if you want to ride just a section. For truly ambitious trips, sections of the Great Trail (formerly the Trans Canada Trail) connect through Ontario, offering endless possibilities, some bikepackers even combine rail trail adventures with other routes like the Northern Canoe Trail for multi-sport explorations.
Consider what scenery excites you. Do you want lakeside views, forest canopy, heritage railway stations, or wide-open farmland? Download trail maps from organizations managing each corridor to identify parking areas, trailheads, road crossings, and nearby services. Look for recent trail condition reports on their websites or local cycling forums, surface quality varies significantly between well-maintained crushed limestone and rougher ballast sections.
Step 2: Map Your Daily Distances and Overnight Stops
Once you’ve chosen your trail, it’s time to break the route into manageable daily segments. Most bikepacking beginners find 40-50 km per day comfortable on rail trails, while experienced cyclists might cover 70-80 km without issue. Consider the trail surface, packed limestone rolls faster than loose gravel, and factor in elevation changes, even though converted rail corridors are generally gentle.
Plot your overnight stops around available camping options. Provincial parks near many Ontario rail trails offer established campgrounds with showers, picnic tables, and potable water. The Cataraqui Trail, for example, passes close to Frontenac Provincial Park, while sections of the Great Trail connect to conservation areas with camping facilities. Check each park’s website for amenities and whether sites accommodate cyclists arriving late.
Don’t overlook municipal campgrounds in small towns along the route. These often provide basic facilities at lower prices and put you near restaurants and grocery stores. Some trail communities have embraced bikepacking culture with cyclist-friendly accommodations specifically for long-distance riders.
If you’re considering backcountry camping, research local regulations carefully. Wild camping isn’t universally permitted on rail trail corridors in Ontario. Where it’s allowed, practice leave-no-trace principles religiously.
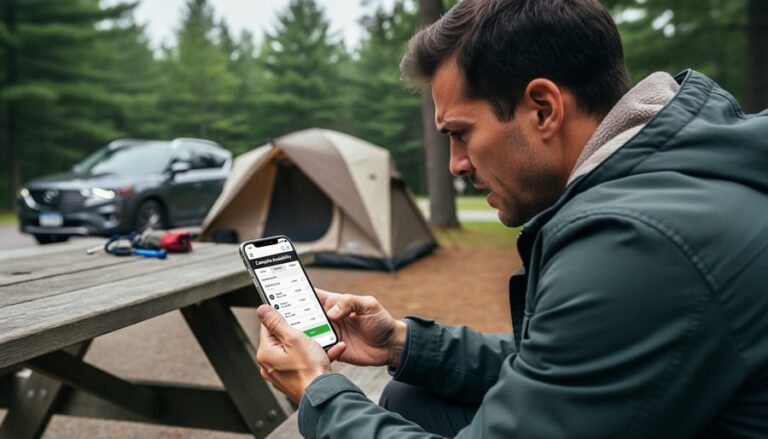
Here’s an insider tip: book campsites two to three weeks ahead during summer weekends and holidays. Many Ontario provincial parks fill up fast. Having confirmed reservations eliminates the stress of scrambling for accommodation after a long day in the saddle.
Step 3: Plot Resupply Points and Water Sources
Before you finalize your route, pinpoint every town and village along the way. Open your trail map and mark spots where you can grab fresh water, restock snacks, or pick up emergency supplies. Small communities often appear every 20-30 km on popular Ontario rail trails, but don’t assume services are plentiful, some stretches run through farmland or forest with no stores for 50+ km.
Use apps like TrailLink or Ride with GPS to identify grocery stores, convenience shops, and public water taps near the trail. Many rural Ontario towns have single general stores with limited hours, so note their opening times and plan to arrive before closing. If you’re tackling remote sections, apply the same mindset you’d use for backcountry hiking, similar to Fullerton Loop tips for wilderness preparation.
Carry at least two extra litres of water capacity and pack high-calorie backup food (energy bars, dried fruit, nuts) for stretches between resupply points. Lightweight water filtration lets you tap into streams or lakes if needed, but always verify water safety first.
Step 4: Test Your Gear and Pack Smart
Before you hit the trails, load your bike exactly as you would for the trip and take a 20-kilometre shakedown ride. This test run reveals uncomfortable pressure points, noisy rattles, and gear you don’t actually need. You’ll discover whether your sleeping bag is accessible without unpacking everything, and whether your bike handles differently when fully loaded on gravel.
Weight distribution makes or breaks your ride. Mount heavier items low and centred, toolkit and tent on the frame bag, sleeping bag in the seat pack. Keep your handlebar bag light with snacks and rain gear you’ll grab frequently. An unbalanced load creates wobble on descents and strains your back.
Pack smarter by choosing multi-use items: a bandana works as towel, pot holder, and dust mask. Compression sacks squeeze puffy jackets to fist-size. Skip the “just in case” extras, you’re cycling through Ontario, not the Yukon.
Choose reusable silicone bags over disposable plastic, and refill a collapsible water bottle at towns rather than buying single-use bottles. Less packaging means less weight and less trail litter.
Step 5: Check Trail Conditions and Permits
Before you roll out, spend time gathering intel on your chosen trail’s current state. I learned this the hard way when I arrived at the Cataraqui Trail to find a washed-out bridge section that forced a 15-kilometre detour on highway shoulders.
Contact the managing organization directly, whether that’s a provincial park, municipality, or trail conservancy. Their websites often have condition updates, but a quick phone call gets you real-time information about surface quality, recent washouts, or maintenance closures that haven’t made it online yet. Staff can tell you which sections stay muddy longest after rain or where fallen trees might still block the path.
Most Ontario rail trails don’t require permits for day use, but overnight camping typically does. Provincial parks along routes like the K&P Trail charge camping fees and need advance reservations during summer weekends. Some trails allow free backcountry camping in designated zones, while others prohibit it entirely. Clarify the rules before you pack your tent.
For point-to-point routes, sort out your vehicle logistics early. Many trailheads have free parking, but confirm time limits and overnight policies. I’ve used shuttle services run by local outdoor shops, arranged car swaps with fellow cyclists, or convinced friends to drop me off with promises of post-ride dinner. Whatever you choose, have it nailed down weeks ahead so you’re not scrambling the night before departure.
Sample 3-Day Rail Trail Bikepacking Itinerary
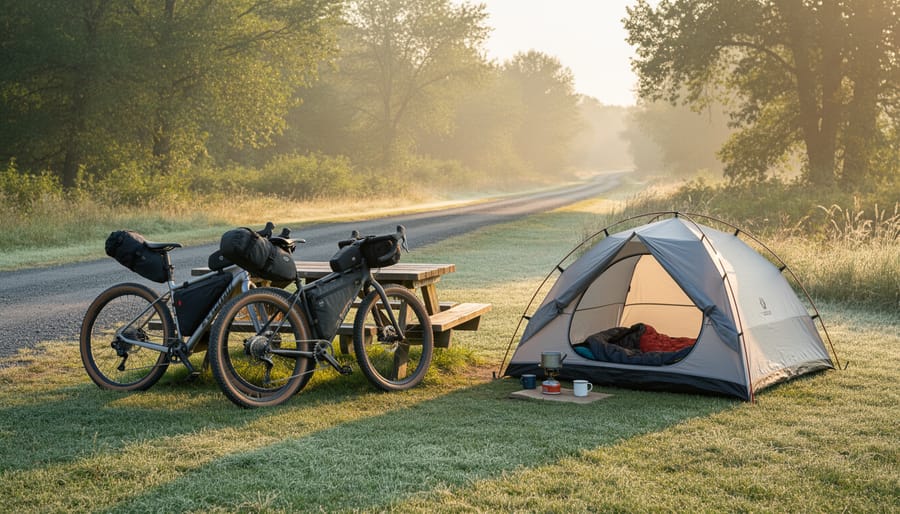
Last spring, I tackled the Cataraqui Trail from Smiths Falls to Kingston, a 125-kilometre journey that perfectly showcases what makes rail trail bikepacking so rewarding. Here’s how I broke it down into three manageable days.
Day 1: Smiths Falls to Chaffeys Lock (42 km)
I rolled out from the Smiths Falls trailhead around 9 a.m., my bikepacking bags stuffed but balanced. The morning stretch follows the Rideau Canal, where I stopped twice just to watch boats navigate the historic locks. The crushed limestone surface felt firm under my tires, making for easy pedaling through farmland and forest corridors.
By early afternoon, I reached Chaffeys Lock, a tiny village where the Opinicon Resort has a small general store. I grabbed fresh sandwiches and filled my water bottles before setting up camp at nearby Murphy’s Point Provincial Park. That evening, locals at the lock shared stories about the canal’s history while I cooked dinner on my camp stove. The sunset over the water made the 42 kilometres feel effortless.
Day 2: Chaffeys Lock to Sydenham (45 km)
This was my favourite stretch. The trail weaves through deeper woods, and I spotted deer twice before noon. The terrain stays flat, but the scenery shifts constantly, wetlands, rock cuts, old railway bridges. I’d packed trail mix and energy bars, snacking every hour to keep my pace steady.
Sydenham offered a proper break: a café where I recharged both my phone and my legs. Camping options here are limited, so I’d booked ahead at a private campground just off the trail. The owner, a former cyclist himself, let me use his workshop to tighten my rear rack. Similar to planning the Seven Carries route in Frontenac, having those resupply points mapped made all the difference.
Day 3: Sydenham to Kingston (38 km)
The final push felt bittersweet. My legs were tired but strong, and the trail opens up as you approach Kingston, offering glimpses of Lake Ontario. I took it slow, knowing a celebratory meal awaited at the finish.
Rolling into downtown Kingston mid-afternoon, I felt that perfect mix of accomplishment and already planning the next trip.
How to Know Your Trip Was a Success (and What’s Next)
A successful rail trail bikepacking trip isn’t just about finishing, it’s about the moments in between. You know your adventure hit the mark when you’re scrolling through photos three days later, already researching your next route.
Real indicators of a well-executed trip: your gear performed as expected, you maintained energy throughout each day, and you left every campsite cleaner than you found it. Maybe you met fellow cyclists who shared trail beta, or discovered a café in a small town that became your new favourite stop. These experiences matter more than perfect mileage.
Take notes while memories are fresh. What worked brilliantly? Perhaps your waterproof phone mount saved you during that surprise shower, or packing extra snacks prevented an energy crash. What needs tweaking? Maybe your sleeping pad was too bulky, or you carried three pairs of socks when one would suffice.
Ready to level up? Consider tackling the K&P Trail’s 300-kilometre entirety instead of just a weekend section. Try shoulder-season trips in May or September when trails are quieter and colours spectacular. Add technical single-track connectors between rail trail sections for variety.
Share your intel with trail organizations and online communities, recent washout locations, new water sources, wildlife sightings. Your observations help the next rider. Each trip builds skills and confidence for bigger adventures across Ontario’s 3,000-kilometre rail trail network.
Common Questions About Rail Trail Bikepacking
Rail trails attract a lot of first-timers precisely because they offer a gentler introduction to bikepacking than technical singletrack or remote backcountry routes. Here are answers to the questions I hear most often from folks planning their first rail trail adventure.
Can beginners really do bikepacking on rail trails?
Absolutely. Rail trails have gradual grades, well-maintained surfaces, and pass through towns regularly, making them ideal for your first overnight cycling trip. Start with a shorter two-day route to build confidence before tackling longer adventures.
What’s the best season for rail trail bikepacking in Ontario?
Late spring through early fall offers the most reliable conditions, with May to September being prime time. Summer means longer daylight hours and warmer camping weather, though trails can be busier and campgrounds fill up faster.
How do you handle rain during a multi-day trip?
Pack everything in waterproof bags or dry sacks, carry rain gear in an accessible spot, and embrace it as part of the experience. Many rail trails have shelters or are close enough to towns that you can duck into a cafe to wait out heavy downpours.
Can you bikepack on rail trails with kids?
Yes, with proper planning. Choose shorter daily distances, pick trails with frequent access points for emergency exits, and involve kids in the planning to build excitement. A trailer or trail-a-bike setup works well for younger children on the smoother rail trail surfaces.
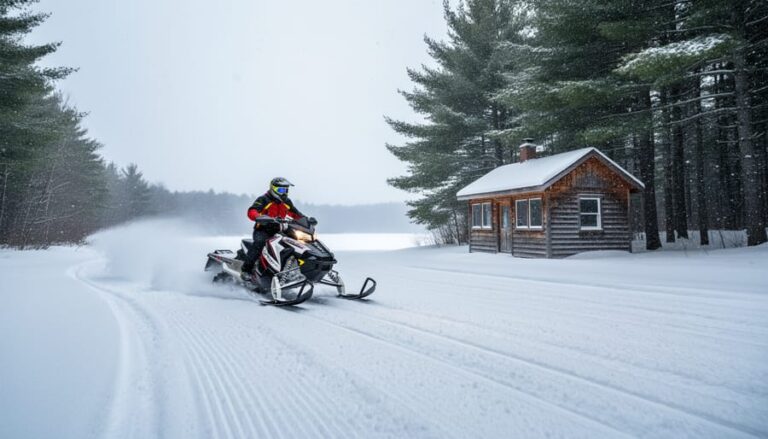
One concern I often hear is about mechanical issues far from help. While bike shops aren’t always right along the trail, most Ontario rail trails pass through or near small towns every 20 to 40 kilometers where you can find basic services. That said, carrying your own repair kit and knowing how to fix a flat or adjust your brakes gives you peace of mind. Some trails close sections during mud season or winter, so checking with the local trail association before you go saves disappointment.
The beauty of rail trails is their forgiving nature. You won’t face steep climbs that punish inexperience, and if something goes wrong, you’re rarely more than a few hours’ ride from civilization. That accessibility makes them perfect for testing whether bikepacking is your thing before committing to more remote adventures.
Rail trail bikepacking offers one of the most accessible ways to experience multi-day cycling adventures in Ontario. These converted railway corridors remove many traditional barriers to bikepacking, they’re generally flat, well-maintained, and connect you to communities for resupply. You don’t need expensive equipment or advanced technical skills to start. What you do need is a spirit of adventure and respect for the trails you’re exploring.
Every pedal stroke takes you through Ontario’s diverse landscapes while tracing the province’s railway heritage. You’ll camp under stars in places once bustling with steam engines, roll through small towns that welcomed trains for generations, and discover corners of Ontario most people never see from their cars.
As you plan your trip, remember that these trails are shared treasures. Pack out everything you bring in, stay on designated paths, and leave campsites cleaner than you found them. The more we care for these corridors, the longer they’ll remain open for everyone to enjoy.
Your first rail trail bikepacking adventure is closer than you think. Pick a trail, mark those overnight stops, and experience Ontario’s natural beauty the way it was meant to be discovered, slowly, deliberately, and entirely under your own power.




+ There are no comments
Add yours