
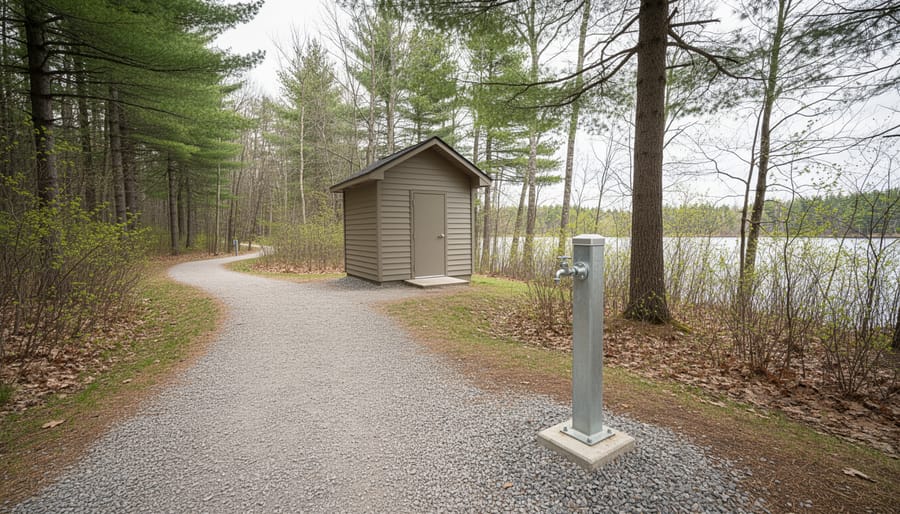
Most Ontario parks and campgrounds have public restrooms, and many also have showers, but what you’ll find depends on the park, the campground, and the time of year. Expect anything from flush toilets and hot showers in a busy provincial park comfort station to a single pit toilet on a quiet backcountry route. Hours usually follow the camping season, and day visitors can often use restrooms even when showers are for registered campers only.
That’s the quick answer. The good news is that a little planning turns a hit-or-miss situation into a nonissue.
I learned this the hard way on a late-spring weekend, when I arrived at a lakeside site expecting a hot shower and found the shower building still closed for the season. A cold splash in the lake and a very friendly neighbour with a camp stove kettle saved the morning. Now I check before I go, every time.
Here’s what we’ll cover: the types of facilities you’re likely to meet, how to find them before you arrive, what changes with the seasons, and how they connect to potable water. You’ll also get packing and etiquette tips, plus a few eco-friendly habits that keep these spaces clean for the next camper. Think of it as your pocket guide to being comfortable outdoors.
What Kinds of Restrooms and Showers You’ll Find Across Ontario
Flush Toilets vs. Vault Toilets: What’s the Difference?
Flush toilets work just like the ones at home. You push a handle, water carries waste away, and it heads to a septic system or sewage treatment. You’ll usually find them in serviced campgrounds, visitor centres, and busy beach areas where plumbing and power are already in place.
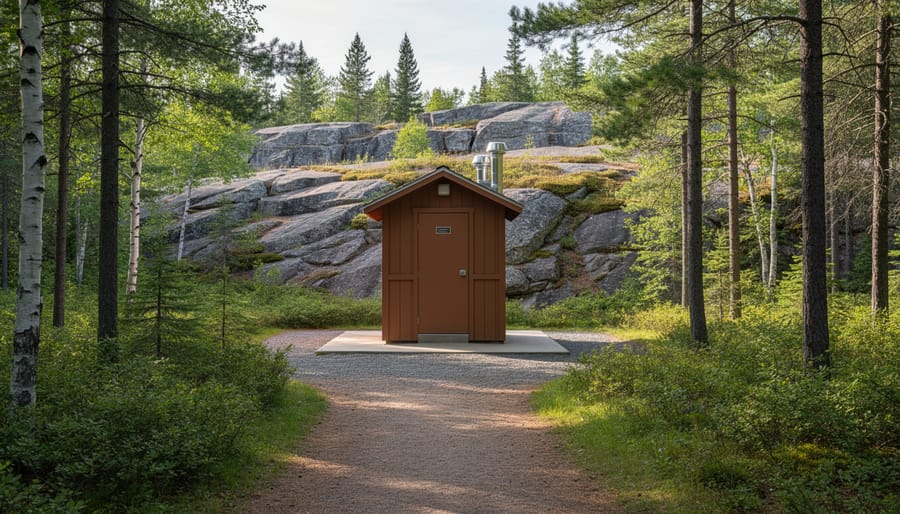
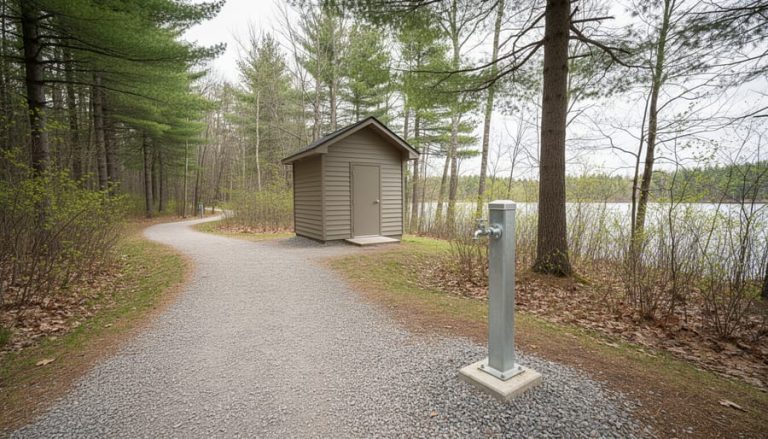
Vault toilets are a different story. They’re sealed underground tanks, often with a simple building on top, and they use no water at all. Waste collects in the vault and gets pumped out and hauled away on a regular schedule. That’s why they’re everywhere in backcountry and remote spots, where running water lines would be costly and hard on the landscape. They also keep waste well away from lakes, streams, and shallow soil, which helps protect sensitive natural areas.
I’ll admit I used to dread them. Then, after a long paddle one August, I stepped into a vault toilet perched above a quiet lake. The door was propped open, loons were calling, and the view was better than some hotel rooms I’ve stayed in. It was spotless, too. Pack a little hand sanitizer and you’re set.
Showers at Campgrounds, Beaches and Day-Use Areas
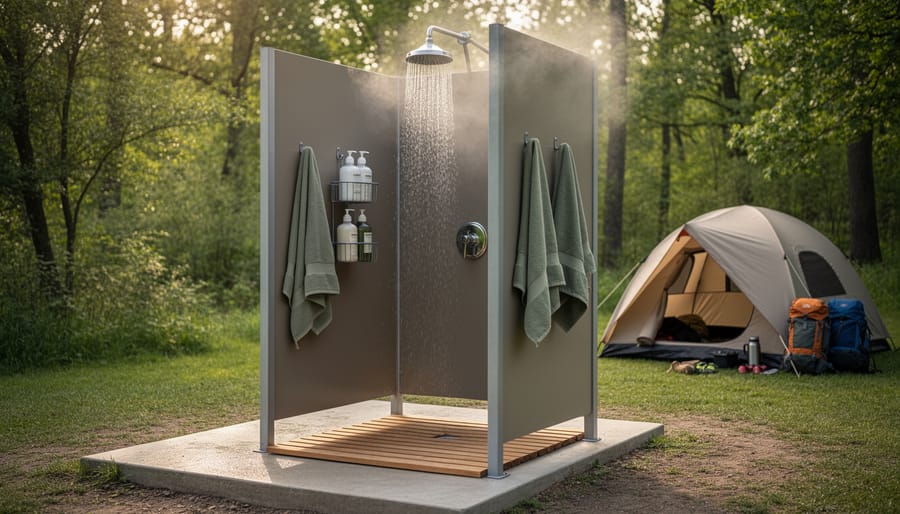
Serviced campgrounds are where you’ll most often find proper shower buildings. These are usually shared comfort stations with private stalls, hot water, and a bench or hook for your clothes. Some use coin-operated timers, while others are included with your campsite fee, so it’s worth bringing a few coins just in case.
Access tends to follow a simple pattern. Registered campers can usually use the showers, and many parks ask for proof of a site booking or a campsite permit. Day visitors are often not permitted in campground showers, since the facilities are sized for overnight guests. Rules vary from park to park, though, so a quick call or a look at the park’s visitor information page saves you a disappointing walk.
Beaches and day-use areas are a different story. Instead of full shower buildings, you’ll often find simple outdoor rinse stations: a tap or open-air spigot meant for washing off sand and lake water. They’re typically cold, unscreened, and best used in your swimsuit.
Insider tip: rinse stations are a lovely, low-impact option, but skip the soap, since runoff drains straight back toward the shoreline. Save the shampoo for a proper shower building, and confirm what’s available with the park before you head out.
Where to Find Public Restrooms and Showers Before You Go
Knowing where the restrooms and showers are before you arrive saves you from a lot of wandering with a full bladder and a towel over your shoulder. A few minutes of prep goes a long way.
Start with the official park page. Most provincial parks, conservation areas and municipal sites list their facilities clearly, and many break them down by campground, beach or trailhead. Look for details on whether showers are in a full building or just a rinse station, and whether the restrooms are flush or vault style.
Next, study the trail or park map. Facility icons are your friend here. The little toilet and shower symbols usually sit right next to parking lots, picnic areas and campground loops, so you can see at a glance how far you’d need to walk. Photos and maps on the park’s page are worth a good look, too. A quick picture of the comfort station helps you spot it when you’re tired and the sun is going down.
Here’s an insider tip: if the map shows a building near the visitor centre, check the signage when you arrive. Posted notes often mention seasonal hours, closures or the nearest open washroom when one is shut for the day.
For anything that isn’t clear online, call ahead. Park staff can tell you what’s open this week, which is especially handy in spring and fall, when some buildings close early.
Finally, plan for patchy signal. Many beautiful spots have little to none, so screenshot or download the park map before you leave home. It’s also smart to check cell coverage ahead of time so you know whether your phone will help once you’re on the trail. A saved map works offline every time.
Seasonal Timing and Access: When Facilities Are Open
Here’s something that surprises a lot of first-time visitors: the fanciest facilities are often the first to go quiet when the weather cools. Many restrooms, shower buildings and water taps run on a seasonal schedule. Flush toilets and hot showers usually need heated, plumbed buildings and working water lines, so they tend to open later in spring and close earlier in fall.
Basic vault toilets are the hardy ones. They don’t rely on running water, so they often stay open well beyond the main season, which makes them a dependable fallback when you’re hiking in the shoulder months. Just don’t count on a hot shower waiting for you at the end of the trail.
For spring and fall trips, a little planning goes a long way:
– Check the park’s official page or call ahead to confirm which buildings are open and when water is turned on.
– Pack your own drinking water for early or late outings, since taps may be shut off to prevent freezing.
– Bring a small stash of hand sanitizer and toilet paper, just in case supplies run low.
– Keep a backup plan, like a nearby town or visitor centre, if the closest facilities are closed.
Insider tip: try visiting on a weekday or first thing in the morning. Facilities are usually quieter, cleaner and freshly stocked before the crowds arrive, and you’ll often have the whole building to yourself.
Staying Fresh and Hydrated: Potable Water Near Restrooms
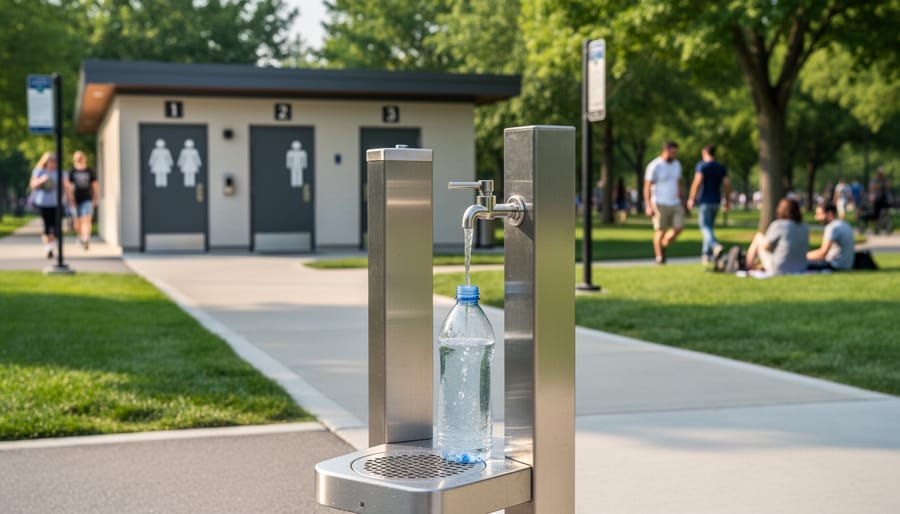
Restrooms and showers are only half of the comfort equation. Safe drinking water is the other half, and the two often sit close together. At many serviced campgrounds, you’ll spot a water tap or filling station not far from the comfort station, which makes it easy to wash up and top off your bottle in one stop.
The trick is knowing which taps are safe to drink from. Look for clear signage. A tap marked as drinking water is meant for filling bottles, while a sign reading “non-potable” or “not for drinking” means the water is only for rinsing, cleaning or washing up. Outdoor rinse stations at beaches usually fall into the second group. If a tap has no sign at all, treat it with caution and ask park staff or check the park map.
A refillable bottle is one of the easiest things you can pack. Fill it at a marked potable tap before you hit the trail, and you’ll skip buying single-use plastic along the way. It’s better for the park and kinder on your wallet, too.
Backcountry is a different story. Lakes, streams and rivers can look crystal clear and still carry things that upset your stomach. If you’re drinking from a natural source, filter or treat the water first. A small pump filter, purification tablets or a good boil will do the job.
Insider tip: fill up before you leave the developed area, then carry a little extra than you think you need. Running dry on a warm afternoon is no fun.
Packing and Etiquette Tips for a Comfortable Visit
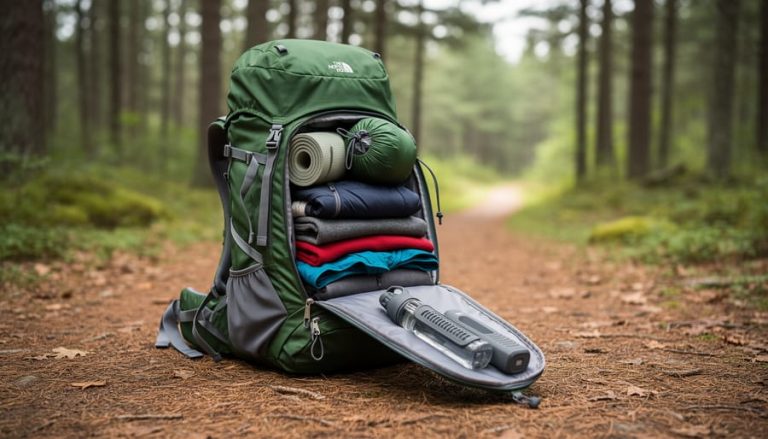
A little prep goes a long way when you’re sharing facilities with a whole campground. Here’s what I toss into a small tote before heading to the shower building.
Start with a quick-dry towel. It packs down tiny, dries fast on a hook or clothesline, and won’t leave your tent smelling musty. Add a pair of flip-flops or water shoes, since shower floors can be damp and gritty. A toiletry bag with a hanging loop is worth its weight too, because shelves are rare and hooks fill up quickly.
Pack biodegradable soap and shampoo, and keep it simple. Low-impact toiletries are kinder to the soil and water around the campground, and a refillable travel bottle beats a pile of mini plastics. A headlamp is my insider tip for early-morning or after-dark trips, since lighting can be dim and you’ll want both hands free. Tuck a small zip bag in for hygiene items, so used products travel out with you instead of landing in a bin that isn’t meant for them.
A few friendly manners keep things pleasant for everyone. At busy times, like mornings and late afternoons, keep your stay short so others aren’t waiting. Wipe down the sink, grab your hair from the drain, and leave the bench clear. If you brought it in, take it out. Those small habits make shared spaces feel fresh for the next person.
Key Takeaways for Restrooms, Showers and Water on Your Ontario Trip
Before you head out, take a minute to review the waste disposal rules for your park, too. Leaving restrooms and shower areas tidy keeps them pleasant for the next visitor and protects the natural spaces we all come to enjoy.
Frequently Asked Questions About Public Restrooms and Showers
Can day visitors use campground showers?
It depends on the park. Some campground shower buildings are reserved for registered campers, while others welcome day visitors, sometimes for a small fee. Check the park’s website or ask at the gate before you pack your towel.
Are restrooms and showers accessible?
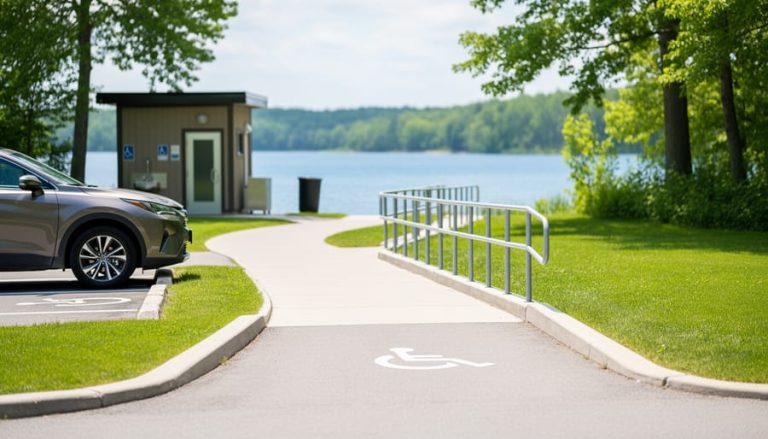
Many parks now offer accessible facilities though features vary from one building to the next. If you need specific details like ramps, wider stalls or paved paths, call the park ahead of time.
What if there are no facilities nearby?
Pack a small trowel, a bag for used toilet paper, and follow Leave No Trace guidelines. If you’re travelling with a trailer or motorhome, look into RV dump stations along your route.
How do I find drinking water on a trail?
Look for signed potable water taps near restroom buildings, trailheads and visitor centres, and fill up before you head out. In backcountry areas, plan to filter or treat any lake or stream water.
Are facilities open all year?
Not always. Many showers and water taps run seasonally, while simple vault toilets often stay open longer. A quick call or a look at the park’s current notices will save you a surprise.
Still wondering about something specific, like a certain park’s shower hours or a particular trail’s water situation? Park staff are usually happy to help, and they know their grounds best. A two-minute chat can make the difference between a scramble and a smooth, comfortable trip.
A little planning around restrooms, showers and potable water goes a long way. Once you know what kind of facilities to expect, when they’re open, and where the drinking taps are, you can stop worrying about the small stuff and soak up the good parts: the loon call at dusk, the first cup of coffee by the lake, the quiet trail ahead.
So pack your quick-dry towel, fill that refillable bottle, and head out with confidence. Ontario’s parks are ready for you.
Found a spotless shower building or a vault toilet with a million-dollar view? Share your favourite facility tips with fellow explorers!


+ There are no comments
Add yours