
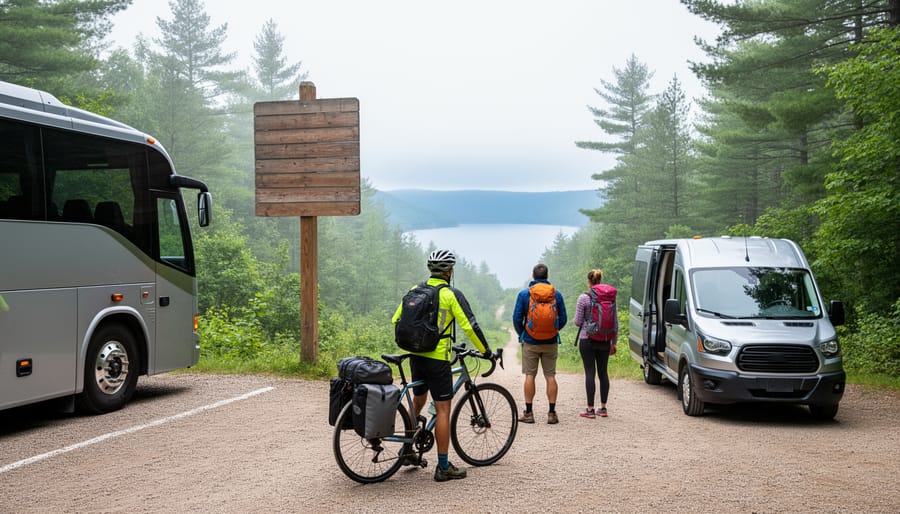
Planning a transit route to Ontario’s parks and outdoor destinations means confidently connecting buses, trains, and local shuttles to reach trailheads, beaches, and scenic lookouts without a car. The process takes 15 to 30 minutes and requires three core tools: a real-time transit app, park access information from official sources, and backup options for service gaps. When done right, transit routing opens the door to car-free adventures at places like Algonquin Park’s Highway 60 corridor, the Bruce Trail access points, and Toronto Islands, all while reducing your environmental footprint.
Most visitors assume Ontario’s natural spaces require a vehicle, but public transit reaches far more parks and conservation areas than commonly believed. Regional bus services now serve popular destinations year-round, and seasonal shuttles connect remote trailheads during peak months. The challenge isn’t whether transit can get you there, but knowing which routes run when, where to transfer, and how to verify schedules that change with the season.
This guide walks you through the complete planning process, from selecting reliable route-mapping tools to checking last-mile connections and weather-related service alerts. You’ll learn how to cross-reference official park transit information with real-time apps, identify which parks offer guaranteed service versus seasonal access, and build contingency plans for delays or cancellations. We’ll also cover safety essentials, like sharing your itinerary and packing for variable departure times.
Whether you’re heading to a provincial park for a day hike or catching a boat to an island campground, transit routing transforms how you explore Ontario’s outdoor spaces. Less time stuck in traffic, lower trip costs, and zero parking stress mean more energy for the trails ahead.
What You’ll Need to Plan Your Transit Route
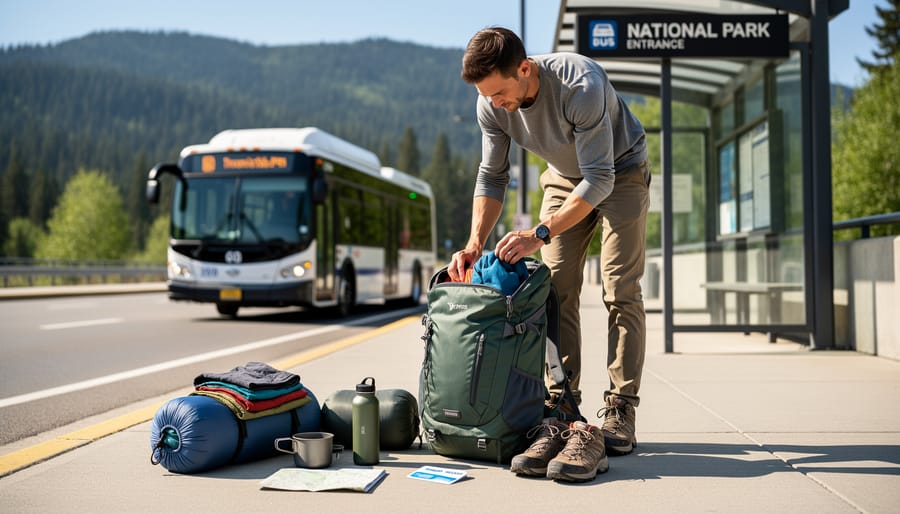
Before you map a single bus route, gather your planning toolkit. You don’t need fancy equipment, but having the right resources at your fingertips will save you hours of frustration and prevent you from arriving at a remote trailhead with no way home.
Start with the digital essentials. Download transit apps for every region you’ll pass through, Google Maps works well for an overview, but you’ll want Transit, the GO Transit app if you’re using regional rail, and local apps like Triplinx for the Greater Toronto and Hamilton Area. These apps show real-time updates, but they’re not infallible, so also grab PDF schedules from official transit websites. Print or save them offline. Seriously. I’ve stood in a parking lot with no cell signal, desperately wishing I’d downloaded the weekend bus schedule.
Your complete planning kit should include:
- Transit route-planning apps with offline map capability
- Official schedule PDFs from each transit agency you’ll use
- Park maps showing trailheads, campgrounds, and shuttle stops
- Portable battery bank to keep your phone charged all day
- Contact numbers for transit customer service and park offices
- Notepad and pen for jotting down confirmation numbers and backup options
Don’t skip the park-specific resources. Most Ontario Parks have downloadable maps on their websites showing where shuttle services stop, if bike racks are available, or where the nearest road access point sits. Contact the park office directly if you’re planning something unusual, bringing a canoe on the bus, for instance, because their staff know which transit drivers are cool with it and which routes actually have room.
Keep everything in one folder on your phone and one printed backup. When you’re juggling a backpack, tent, and trying to catch a connection, you want answers fast, not a scavenger hunt through your email.
Before You Start: Important Safety and Timing Considerations
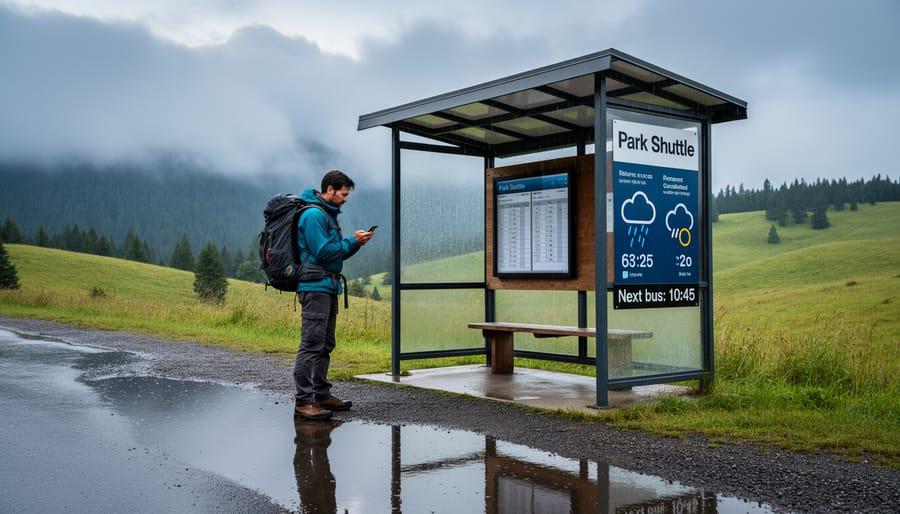
Before you jump into plotting your adventure, there’s crucial information that could mean the difference between a smooth journey and being stranded at a rural bus stop after dark. Transit to Ontario’s parks operates on a completely different rhythm than urban systems, and missing these warnings could derail your entire trip.
Seasonal service is your first major consideration. Numerous regional routes to popular parks run only from May through October, while some operate exclusively on summer weekends. The bus that serves your chosen campground in July might not exist in April or November. Always verify current schedules within 48 hours of departure, because transit agencies adjust frequencies based on demand and driver availability. What ran daily last year might be weekends-only this season.
Weekend and holiday schedules deserve special attention. Sunday and holiday transit often operates on dramatically reduced timetables or doesn’t run at all on certain routes. That Saturday morning bus to the trailhead might have no Sunday equivalent for your return journey. Long weekends, when parks see peak visitation, frequently coincide with reduced transit service.
Weather impacts rural routes more severely than city buses. Heavy snow, flooding, or severe storms can cancel service entirely, often with minimal notice. Summer thunderstorms might delay connections you’re counting on to reach the last train home.
Your backup plan matters as much as your primary route. Identify the next-latest departure option before the absolute last bus. Know the nearest town with overnight accommodation and how to reach it. Save taxi company numbers for the region, and budget for an emergency ride if connections fail. Pack a headlamp, extra water, and snacks in case delays stretch longer than expected. This isn’t pessimism, it’s the reality of depending on infrequent rural transit, where a fifteen-minute delay can cascade into missing your connection and waiting hours for the next option.
Step-by-Step: Building Your Transit-Accessible Route Itinerary
Step 1: Choose a Transit-Friendly Destination
Start by scanning Ontario Parks’ official website, many listings note public transport options or proximity to major routes. Look for parks within walking distance of GO Transit stations, regional bus terminals, or seasonal park shuttles. Truly transit-accessible means you can complete the last mile without a taxi: direct shuttle service, safe pedestrian paths, or bike-friendly roads connecting the stop to the trailhead.
Check individual park websites for “Getting Here” sections that mention transit. Sites like Google Maps can show you which parks sit near bus or train lines, but always verify schedules independently. Parks near urban centers, like Rouge National Urban Park or Scarborough Bluffs, offer the most frequent service. For backcountry destinations, contact park offices directly; staff can confirm seasonal shuttles or recommend nearby stops. Some parks, like Frontenac, require creative planning, review detailed guides such as the Fullerton Loop itinerary to understand how hikers bridge transit gaps with bikes or rideshares.
Prioritize destinations with multiple daily departures, not just one morning bus. If a park has only weekend service or requires a two-hour walk from the nearest stop, save it for when you’ve mastered easier routes first.
Step 2: Map the Full Journey from Door to Trail
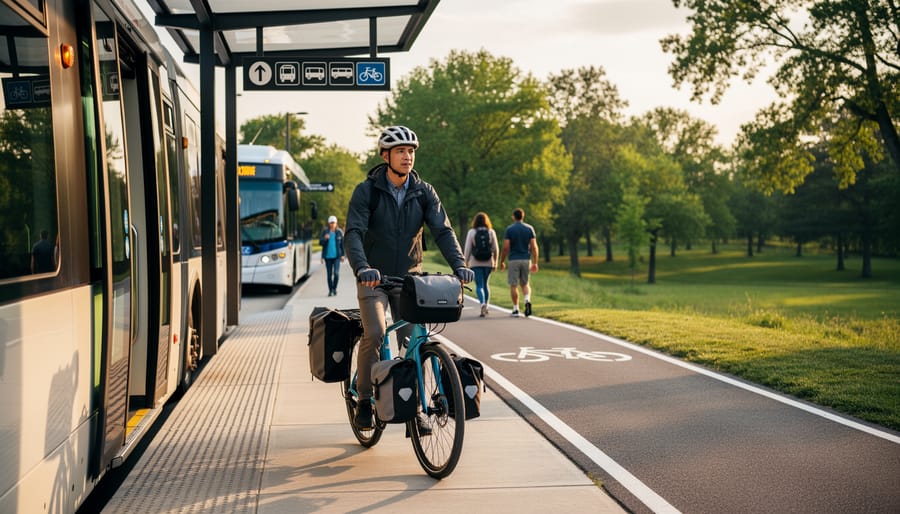
Start by opening your preferred transit app, Google Maps, Transit, or Triplinx work well in Ontario, and enter your home address as the starting point and the park’s main entrance or visitor centre as the destination. Don’t just accept the first route suggestion. Toggle through different departure times to see how frequency changes throughout the day, especially on weekends when service often drops. You’re looking for connections that give you at least 15-20 minutes between transfers, not the app’s optimistic five-minute sprints across stations.
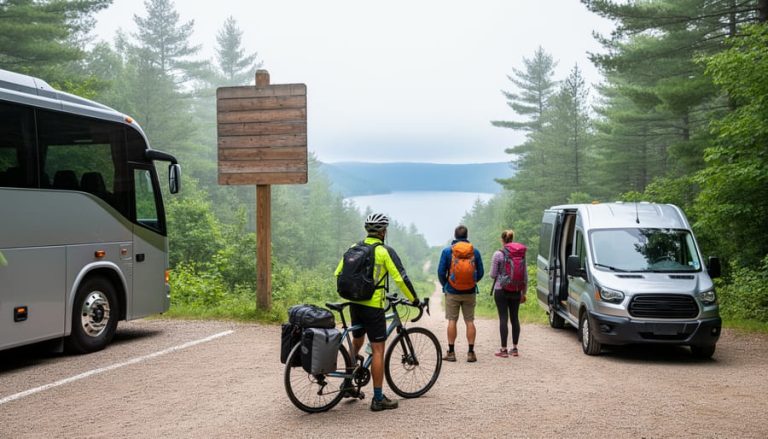
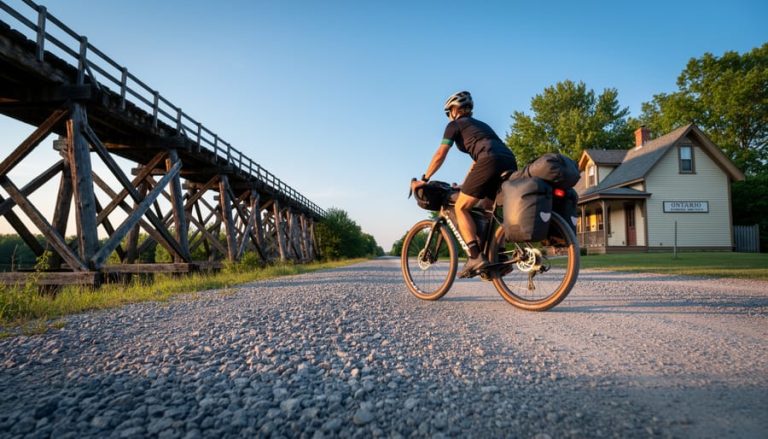
Break the journey into clear legs. Typically you’ll have an urban transit portion (subway, streetcar, local bus), a regional connector (GO Transit, Ontario Northland, Greyhound), and that crucial final stretch to the trailhead. For the last mile, investigate park shuttles first, some provincial parks run seasonal services from nearby towns. If no shuttle exists, check taxi availability (call local companies directly; rural areas rarely have Uber), consider bikepacking on rail trails if the route allows, or map a safe walking route if it’s under 5 km.
Plot your return journey with even more caution. The last bus out of small towns often leaves surprisingly early, sometimes 4 or 5 PM, so work backward from that departure time to set your park exit deadline. Screenshot every schedule, save transit confirmation numbers, and note which legs have limited daily frequency.
Step 3: Cross-Check Schedules and Identify Gaps
Once you’ve mapped your journey, it’s time to verify every timetable, because transit apps don’t always show the full picture, especially for rural or seasonal routes. Start by visiting the official website of each transit agency involved in your trip. Apps like Google Maps often pull outdated schedules or miss service alerts, particularly for smaller regional systems.
Look for red flags: Sunday service that drops to twice daily, seasonal reductions after Labour Day, or routes that skip certain stops on holidays. Print or screenshot the schedules directly from agency websites, noting any footnotes about “school days only” or “summer weekends.” If your connection relies on a route that runs every three hours, you’ve found a critical gap that needs a backup plan.
Call the transit agency if anything seems unclear. A quick phone conversation can reveal unofficial knowledge, like a driver who sometimes waits five extra minutes if the connecting bus is late, or a stop that’s temporarily relocated due to construction. Rural transit operators are often small teams who know their riders; they’ll appreciate your diligence.
Check again 48 hours before you leave. Schedules change, buses break down, and special events can alter routes. This second verification catches last-minute surprises that would otherwise strand you miles from your destination.
Step 4: Build in Buffer Time and Backup Options
Transit connections rarely go wrong, but when they do, buffer time is your safety net. Add at least 20 to 30 minutes between connections in urban hubs and 45 to 60 minutes when transferring from regional buses to local transit. If you’re catching the last bus of the day or connecting on a Sunday, double that cushion. Real talk: a five-minute scheduled connection looks efficient on paper, but one red light or chatty passenger boarding ahead of you and you’re watching your ride pull away.
Always identify your Plan B before you leave home. Screenshot the next available departure, even if it’s two hours later, and note alternative routes that use different transit agencies or stations. For remote parks, know the nearest town with taxi or rideshare service and have their numbers saved offline. If your backup option leaves after dark, research accommodation nearby or accept you might need to reschedule the outdoor portion of your trip.
Download offline maps that show walking routes between alternate stops. Sometimes a 15-minute walk to a different station saves you a three-hour wait. Keep some emergency cash tucked away; smaller transit systems and rural taxis don’t always take cards.
When delays happen, stay calm and communicate. Message your campsite host if you’ll arrive late, and don’t hesitate to ask drivers or station staff about alternatives, they know the system better than any app.
Step 5: Confirm Gear Transport Rules
Before booking your route, verify what gear each transit operator allows, policies vary widely and can derail your trip if you’re caught unprepared. GO Transit permits folding bikes on all trains but restricts full-size bikes during peak hours; TTC buses accommodate two bikes on front racks first-come-first-served, while subway cars allow bikes except during weekday rush periods. For canoes and kayaks, most systems prohibit them entirely on vehicles, though some regional operators like Ontario Northland may accommodate them in luggage compartments if you call ahead, consider whether your destination justifies shipping gear separately or renting on-site. Camping backpacks under 70 litres typically pass without issue, but oversized packs or hard coolers may be refused; pack compactly in soft-sided bags that fit overhead racks or under seats. If you’re bringing canoe portage yokes or paddles, bundle them securely and check length restrictions, items over two metres often require special permission. Pets travel free on most Ontario systems if crated or leashed, but service animals have priority and some routes ban pets during summer heat advisories. Download each operator’s baggage policy PDF before departure and screenshot the relevant sections; drivers enforce rules inconsistently, and having official documentation prevents arguments at the curb.
Step 6: Save and Share Your Itinerary
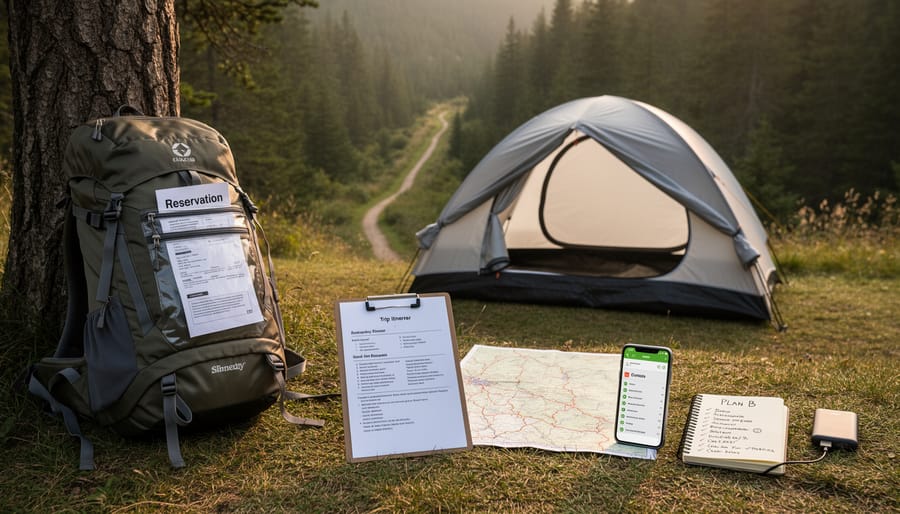
Once you’ve built your route, create a single document that works without internet. I keep mine in both digital format (screenshot or PDF on my phone) and printed on paper, transit Wi-Fi isn’t reliable in rural areas, and phone batteries die.
Your itinerary should include every bus number and departure time, confirmation codes for any booked services, and direct phone numbers for each transit agency. Add the park office contact, your accommodation details if staying overnight, and at least two backup options if you miss a key connection.
Text or email this complete plan to someone at home before you leave. Include your expected check-in times at major stops. If something goes wrong and you can’t reach anyone, that person knows exactly where you should be and who to call, it’s basic outdoor safety that applies to transit adventures too.
Testing and Verifying Your Route Before Departure
Your route looks solid on paper, but real-world transit has a nasty habit of changing without warning. Forty-eight hours before you leave, it’s time to verify everything one more time, and this step has saved countless outdoor enthusiasts from getting stranded halfway to Algonquin or standing at a closed station on Sunday morning.
Start by revalidating every schedule. Transit agencies update timetables for construction, special events, and seasonal changes, often with minimal notice. Visit the official website for each service you’re using, GO Transit, local municipal systems, Parkbus, regional carriers, and confirm your specific departure times still exist. Apps can be slow to update, so cross-reference with the source. While you’re there, check the service alerts page for your travel day. A five-minute delay notice is fine; a “temporary route suspension” is not.
Weather deserves serious attention when transit is your lifeline. Check the extended forecast for both your departure city and your destination park. Heavy rain might not cancel buses, but it can delay connections and make that final two-kilometre walk from the bus stop to the campground miserable with a full pack. Snow or ice warnings in spring or fall should trigger a postponement conversation, rural routes get cancelled fast in bad weather.
Now comes the part most people skip: the gear dry-run. Load your pack exactly as you’ll carry it on travel day, then time yourself walking from your front door to your local transit stop, boarding with the pack, and moving through a transfer scenario. Can you hustle up stairs if needed? Does your pack fit in the overhead rack or bike area? Will that canoe paddle strapped to your backpack clear doorways? Five minutes of awkward shuffling in your living room beats discovering mobility issues when you’ve got three minutes to catch a connecting bus.
Check one more time that you’ve downloaded offline maps for every leg and screenshotted your full itinerary with confirmation numbers. Charge your phone and backup battery to 100%. Print a paper copy of your route with all agency contact numbers, if your phone dies in a service gap, that paper becomes your safety net.
Finally, trust your gut about postponing. If schedules shifted, weather looks sketchy, or you’re seeing multiple service alerts, it’s smarter to push your trip back a week than to force a risky departure. Ontario’s parks will still be there, and a rescheduled adventure beats a stressful ordeal or a safety incident.
Insider Tips for Smoother Transit Adventures
Travel on shoulder season weekdays, late April through May and September through October, when routes are less crowded and drivers have more time to share local knowledge. You’ll also catch Ontario’s parks at their most peaceful, with vibrant spring wildflowers or fall colours framing your adventure.
Strike up friendly conversations with bus and train operators, especially on regional routes. These folks know which trails flood after rain, which beaches are quiet on Saturdays, and shortcuts you won’t find in any app. A simple “Do you know if the trail to the falls is open?” often unlocks insider intel worth its weight in gold.
Eco-friendly perks and practical packing tips:
- Your transit fare supports public infrastructure and cuts your carbon footprint by up to 75% compared to driving solo
- Pack a collapsible water bottle and reusable utensils, you’ll need them at transfer hubs with limited facilities
- Choose a backpack with external straps for your sleeping pad or tent; duffel bags are awkward on crowded buses
- Bring a portable phone charger and download offline maps before you leave home, rural cell service is spotty
- Wear your hiking boots on the bus to save pack space and break them in during the journey
For the most reliable 2026 connections, target parks along the GO Transit corridor, Algonquin’s East Gate via Huntsville connections, Presqu’ile Provincial Park near Brighton, and Bon Echo accessible through Kingston routes. If you’re planning a canoe trip, the Seven Carries route in Frontenac connects nicely with Kingston Transit’s seasonal shuttle service.
Always carry a small amount of cash for rural taxi services or farm stand snacks during long layovers. Digital payment isn’t universal outside urban areas, and you don’t want to miss the last connection while hunting for an ATM.
Common Questions About Transit Routing to Ontario Parks
Can I really camp in Ontario parks without a car?
Absolutely. Parks like Algonquin (via Parkbus), Sandbanks (GO Transit + local bus), and Bon Echo (Greyhound replacement services) have confirmed transit access. You’ll need to plan carefully around schedules and pack efficiently, but thousands of people camp car-free every summer.
What should I do if I miss the last bus back?
Always have a backup plan saved in your phone: taxi numbers for the nearest town, park staff contact info, and details of nearby accommodations. Some parks allow emergency overnight parking lot camping with permission, but call ahead to ask rather than assume.
Which parks have the most reliable GO Transit connections?
Rouge National Urban Park, Darlington Provincial Park, and several Conservation Areas along the Lakeshore West and East lines offer walk-up access from GO stations. Download the GO Transit map and filter by stations near green spaces, you’ll find more options than you expect within a 20-minute walk.
How do I handle multi-day trips if buses only run certain days?
Book your outbound and return trips simultaneously, confirming the service runs on your exact dates. For long-distance backpacking where you exit at a different location, coordinate two separate transit routes or arrange a shuttle service for the final leg, some outfitters offer this specifically for through-hikers.
Beyond these common questions, remember that transit routing gets easier with practice. Your first trip might feel like a logistical puzzle, but by your third or fourth adventure, you’ll instinctively know which connections work, which drivers are helpful, and which parks reward the effort of arriving without a car. Many transit-accessible parks are quieter precisely because fewer people make the journey, giving you a more peaceful experience once you arrive.
If you have accessibility needs, call the park office and transit agency directly, most can arrange priority seating, wheelchair-accessible vehicles with advance notice, or recommendations for the smoothest routes. Ontario’s transit systems are improving accessibility year over year, and park staff genuinely want to help you succeed.
Planning a transit-accessible adventure to Ontario’s parks isn’t just possible, it’s genuinely rewarding. You’ve now got the tools, the process, and the insider knowledge to map routes that work. The key is starting with destinations you can reach confidently, then building your skills from there.
Pick a park within an hour or two of home for your first trip. Test your itinerary on a day hike before committing to an overnight stay. Each successful journey teaches you something new about schedules, connections, and what works for your travel style.
Going car-free opens doors you might not expect. You’ll meet fellow travelers on the bus, discover transit-friendly trails locals love, and skip the parking lot scramble entirely. You’re also treading lighter on the places you visit, exactly the kind of impact Ontario’s natural spaces deserve.
The best part? Once you’ve nailed your first route, the next one comes easier. You’ll start recognizing patterns in schedules, knowing which apps to trust, and spotting opportunities other travelers miss.
So grab that park map, open your transit app, and start building your first itinerary. Ontario’s trails, shorelines, and campsites are waiting, and they’re closer than you think.








+ There are no comments
Add yours